Annapurna Bhandar Verification 2026: ₹3000 पाने के लिए यह Step अभी Complete करो — वरना Payment आएगी ही नहीं!
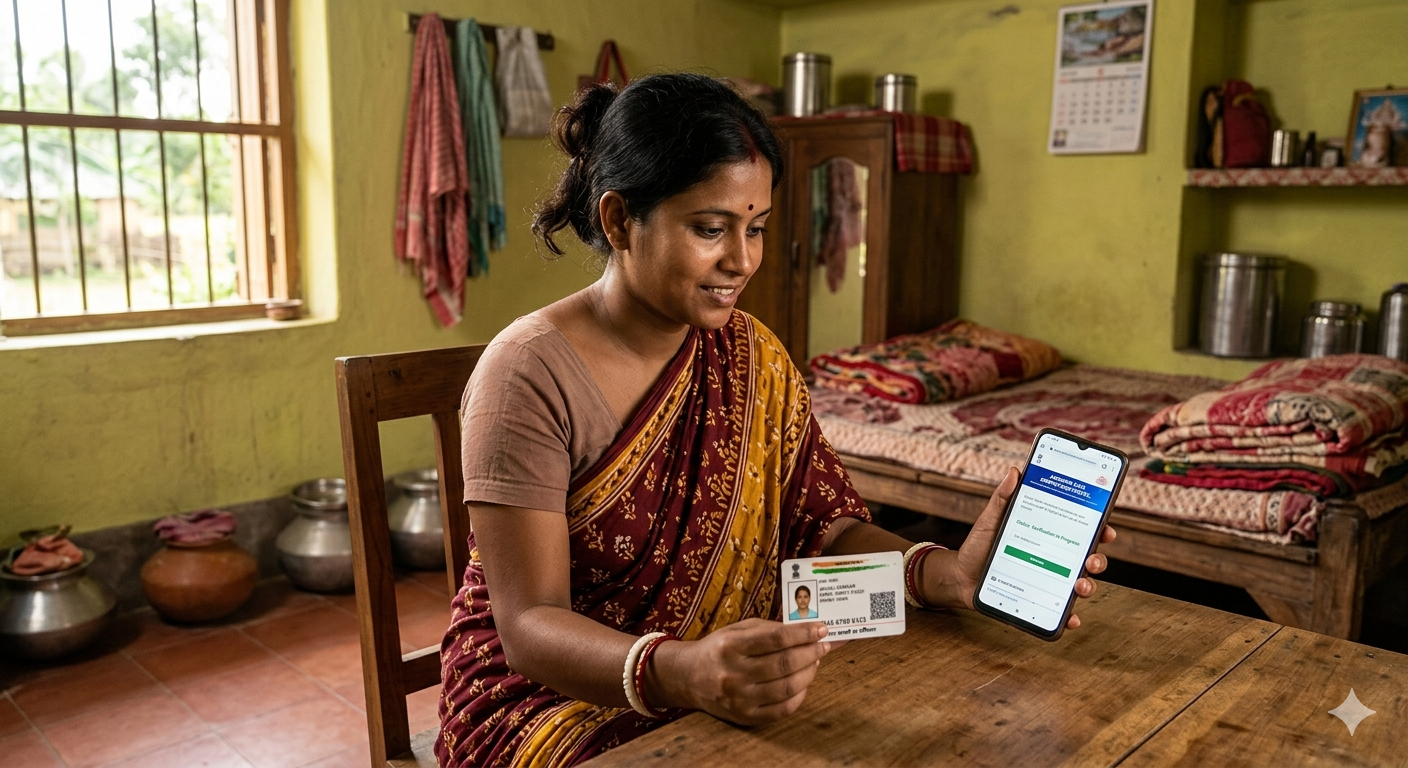
अगर तुम West Bengal में रहती हो और सोच रही हो कि Annapurna Bhandar ka पैसा automatically आ जाएगा — तो रुको! एक जरूरी काम बाकी है जो अगर अभी नहीं किया, तो June 1 से शुरू होने वाली ₹3000 की monthly payment तुम्हारे account में आएगी ही नहीं। वो काम है Annapurna Bhandar Verification 2026 — और यह article उसी के बारे में है। पूरा process, documents, steps, district links — सब कुछ यहाँ मिलेगा। पढ़ते रहो।
Annapurna Bhandar Scheme क्या है — एक Quick Recap
West Bengal में BJP government ने अपने election promise को fulfill करते हुए Annapurna Bhandar Scheme officially launch कर दी है। यह scheme basically उन eligible women के लिए है जो पहले Lakshmir Bhandar scheme के अंतर्गत आती थीं — लेकिन अब इसे upgrade करके ₹3000 per month कर दिया गया है।
पैसा directly उनके bank account में आएगा DBT (Direct Benefit Transfer) system के through। और पहली payment की date है 1st June 2026।
लेकिन — और यह बड़ा “but” है — payment तभी आएगी जब verification पूरी हो चुकी हो। बिना verification के कोई payment नहीं। चाहे तुम पहले से enrolled हो Lakshmir Bhandar में, तब भी यह step mandatory है।
Annapurna Bhandar Verification क्यों जरूरी है?
बहुत सी ladies सोचती हैं — “मैं पहले से registered हूँ, तो मुझे क्या करना है?” लेकिन यह नई scheme है, नया process है। Government ने clearly कहा है कि सभी beneficiaries को fresh verification करनी होगी।
इस verification का मकसद है:
- यह confirm करना कि beneficiary का नाम, details और bank account सब correct है
- Aadhaar और bank account linking verify करना (DBT के लिए जरूरी है)
- Documents genuine हैं या नहीं, यह check करना
अगर यह step miss हो गई — चाहे भूलकर हो या जानबूझकर — तो payment blocked रहेगी। इसीलिए जितना जल्दी हो सके, यह process complete करो।
कौन-कौन से Documents चाहिए — पहले यह तैयार रखो
Verification शुरू करने से पहले दो documents ready रखो। इन्हें phone gallery में या computer में save करके रखो ताकि upload करते वक्त कोई झंझट न हो।
1. Aadhaar Card की Clear Photo या Scan
Aadhaar card की एक अच्छी quality photo चाहिए — जिसमें Aadhaar number और personal details clearly visible हों। Blurry, dark, या cropped photo से submission fail हो सकती है। Natural light में photo लो और check करो कि 12-digit number पूरा दिखता है।
2. Voter ID Card की Clear Photo या Scan
Voter ID card की भी एक साफ photo चाहिए। Name, voter ID number और address सब readable होना चाहिए। अगर card थोड़ा पुराना है और fade हो गया है, तो try करो कि photo में details फिर भी visible हों।
बस यही दो documents हैं। Extra कुछ नहीं चाहिए। Documents ready हैं? तो चलते हैं verification process पर।
Annapurna Bhandar Verification 2026 — Step-by-Step Complete Process
यह process online है और घर बैठे phone से भी की जा सकती है। हर step carefully follow करो।
Step 1 — अपने District का Verification Link खोलो
यह important है — हर district का verification portal अलग है। Kolkata वालों के लिए अलग link, North 24 Parganas वालों के लिए अलग। Article के आखिर में district-wise links दिए गए हैं — वहाँ जाकर अपना district ढूंढो और link open करो।
अगर link slow है या खुलने में time ले रहा है — तो घबराओ मत। बहुत लोग एक साथ इस्तेमाल कर रहे हैं जिससे server पर load है। थोड़ा wait करो और फिर try करो। एक ही form बार-बार submit मत करो।
Step 2 — अपना Block, Municipality, GP या Ward Select करो
Portal खुलने के बाद dropdown menus दिखेंगे। अगर तुम rural area में रहती हो तो अपना Block select करो। अगर urban area में रहती हो तो Municipality select करो। उसके बाद अपना Gram Panchayat या Ward number select करो।
यह details carefully भरो — गलत area select करने पर तुम्हारी details नहीं दिखेंगी।
Step 3 — Bank Account के Last 4 Digits Enter करो
जिस bank account में Annapurna Bhandar का पैसा receive करना चाहती हो, उस account के last 4 digits type करो। फिर Search button press करो।
Step 4 — अपनी Personal Details Check करो
Search करने के बाद screen पर तुम्हारी details automatically आ जाएंगी। इनमें शामिल होगा:
- ID number
- Full name
- Registered mobile number
- Father’s name
- Gram Panchayat का नाम
- Village या locality का नाम
हर एक detail ध्यान से check करो। अगर कोई detail गलत है — जैसे नाम की spelling, या mobile number — तो पहले उसे correct करवाओ। गलत details के साथ proceed करने पर payment रुक सकती है।
Step 5 — Aadhaar Card Details Enter करो और Photo Upload करो
Designated field में अपना 12-digit Aadhaar number type करो। फिर upload button press करो और phone gallery या computer से Aadhaar card की photo upload करो।
एक बात जरूर check करो — जो Aadhaar number तुमने type किया है, वो physically card पर printed number से exact match करता हो। एक digit भी गलत हुई तो verification fail हो सकती है।
Step 6 — Voter ID Details Enter करो और Photo Upload करो
अगले field में अपना Voter ID number accurately enter करो। फिर Voter ID card की clear photo upload करो।
Photo upload करने से पहले एक बार preview करो — ensure करो कि card के सभी details properly visible हैं, कोई corner cut नहीं है, और कोई shadow नहीं पड़ रही।
Step 7 — Aadhaar-Bank Linking का Status बताओ
यहाँ एक important question आएगा — क्या तुम्हारा Aadhaar card तुम्हारे bank account से linked है?
अगर Yes है — तो Yes select करो।
अगर No है — तो No select करो, लेकिन जल्द से जल्द अपने bank branch जाकर Aadhaar seeding करवाओ। DBT payment process होने के लिए Aadhaar का bank से linked होना जरूरी है। बिना इसके payment delay हो सकती है।
Step 8 — SIR Tribunal और CAA वाला Question Answer करो
Form में यह भी पूछा जाएगा कि क्या तुमने SIR Tribunal में application दी है या CAA (Citizenship Amendment Act) के under apply किया है।
अपनी actual situation के हिसाब से honestly Yes या No select करो। इसे accurately भरना जरूरी है।
Step 9 — Form Submit करो और Screenshot लो
सारी details fill होने के बाद और दोनों documents upload होने के बाद Submit Verification button press करो।
Submit होने के बाद screen पर एक confirmation message आएगा। उसका screenshot जरूर लो और safely save करो। यह confirmation तुम्हारा proof है कि verification complete हो गई। Future में कोई issue होने पर यही काम आएगा।
District-Wise Verification Links — अपना District यहाँ ढूंढो
Government ने verification links phased manner में release किए हैं। सभी districts के links एक साथ activate नहीं हुए। जो currently active हैं वो नीचे हैं:
| District | Status |
|---|---|
| Kolkata | ✅ Active — Visit Official Portal |
| North 24 Parganas | ✅ Active — Visit Official Portal |
| South 24 Parganas | ✅ Active — Visit Official Portal |
| Hooghly | ✅ Active — Visit Official Portal |
| Howrah | ✅ Active — Visit Official Portal |
| Murshidabad | ✅ Active — Visit Official Portal |
| Nadia | ✅ Active — Visit Official Portal |
| Purba Burdwan | ✅ Active — Visit Official Portal |
| Paschim Burdwan | ✅ Active — Visit Official Portal |
| Purba Medinipur | ✅ Active — Visit Official Portal |
| Paschim Medinipur | ✅ Active — Visit Official Portal |
| Bankura | ✅ Active — Visit Official Portal |
| Birbhum | 🔜 Coming Soon |
| Malda | 🔜 Coming Soon |
| Uttar Dinajpur | 🔜 Coming Soon |
| Dakshin Dinajpur | 🔜 Coming Soon |
| Jalpaiguri | 🔜 Coming Soon |
| Darjeeling | 🔜 Coming Soon |
| Cooch Behar | 🔜 Coming Soon |
| Alipurduar | 🔜 Coming Soon |
| Kalimpong | 🔜 Coming Soon |
| Jhargram | 🔜 Coming Soon |
| Purulia | 🔜 Coming Soon |
जिन districts के links अभी “Coming Soon” हैं — उनके links जैसे ही activate होंगे, official portal पर update हो जाएंगे। Page bookmark करके रखो।
Common Mistakes जो Verification Fail करवा सकती हैं — इन्हें Avoid करो
बहुत सी ladies छोटी-छोटी गलतियों की वजह से verification fail होते देख रही हैं। यह गलतियाँ avoid करो:
Name Mismatch — Aadhaar, Voter ID और bank account में नाम की spelling एक जैसी होनी चाहिए। अगर Aadhaar में “Rekha Devi” है और Voter ID में “Rekha Debi” — तो problem हो सकती है। पहले यह check करो।
Blurry Document Photos — जल्दबाजी में खींची गई blurry photo से submission fail होती है। Time लो, अच्छी lighting में photo लो।
Wrong Bank Account Digits — Last 4 digits type करते वक्त ध्यान रखो। जिस account में पैसा चाहिए, उसी account के digits enter करो।
Page Refresh करना — Form भरते वक्त page refresh मत करो। Submission complete होने से पहले page बंद भी मत करो।
Multiple Submissions — Portal slow है तो बार-बार Submit button press मत करो। एक ही submission होनी चाहिए।
Aadhaar-Bank Linking नहीं है? — अभी करवाओ
अगर अभी तक तुम्हारा Aadhaar bank account से linked नहीं है, तो यह काम priority पर करो।
अपने nearest bank branch में जाओ और Aadhaar seeding request करो। साथ में लेकर जाओ:
- Original Aadhaar card
- Bank passbook
- एक Aadhaar photocopy (sign करके)
Aadhaar seeding होने में 2-7 working days लग सकते हैं। जितना जल्दी करवाओगी, उतना बेहतर — ताकि June 1 वाली payment miss न हो।
Verification के बाद क्या होगा?
Successful verification के बाद government तुम्हारी details process करेगी। June 1, 2026 से eligible beneficiaries के accounts में ₹3000 की पहली payment आनी शुरू हो जाएगी — DBT के through directly।
अगर verification हो गई है लेकिन payment नहीं आई, तो घबराओ मत। कभी-कभी processing में थोड़ा time लगता है। अगर काफी समय बाद भी नहीं आई, तो अपने nearest BDO (Block Development Officer) office या local municipality office में जाकर complaint करो। अपना confirmation screenshot साथ रखो।
एक Important बात — Scam से बचो
जब कोई बड़ी scheme launch होती है, तो fake links और WhatsApp forwards भी खूब घूमते हैं। किसी भी अनजान link पर click मत करो जो WhatsApp या Facebook पर मिले। हमेशा official district portal का ही use करो।
कोई भी OTP किसी को मत बताओ। Government कभी OTP नहीं माँगती phone पर।
Final Summary — Quick Checklist
Verification complete करने से पहले यह checklist mentally tick करो:
- [ ] Aadhaar card की clear photo ready है
- [ ] Voter ID card की clear photo ready है
- [ ] Bank account के last 4 digits याद हैं
- [ ] Aadhaar bank account से linked है (या linking करवा ली है)
- [ ] Internet connection stable है
- [ ] अपना district का correct verification link खोला है
सब tick हो गया? तो verification portal खोलो और process complete करो। June 1 से पहले यह करना जरूरी है।
Bookmark this page for district link updates. जैसे ही remaining districts के links active होंगे, यहाँ update होंगे।